Home improvement projects can be both exciting and daunting, especially when it comes to altering the layout of your living space. While the prospect may seem overwhelming at first, with the right tools, knowledge, and caution, it’s a task that can be tackled successfully. At Fire Dawgs Junk Removal, we’ve tackle our fair share of home demolitions and have the know how to get “IT” done. That why at we’ve put together a step-by-step guide on how to remove an interior wall. In this guide, we’ll walk you through the essential steps on how to remove an interior wall, turning your vision of a more expansive and functional home into a reality. Read on to find out more.
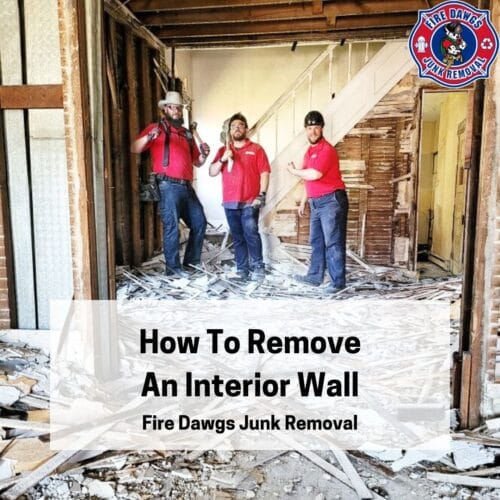
How To Remove An Interior Wall
DIY GUIDE To REMOVE AN INTERIOR WALL
- Evaluate and Plan — Before taking a sledgehammer to your wall, it’s crucial to assess its structural importance. Identify if it is load-bearing or a partition wall. If it’s load-bearing, consult with a structural engineer to determine the appropriate support structures needed. Once you’ve confirmed the wall’s status, create a detailed plan that includes any necessary permits, tools, and safety precautions. It’s essential to have a clear understanding of the electrical, plumbing, and HVAC systems that may be present within the wall to avoid any surprises during the demolition process.
- Gather the Right Tools and Safety Gear Equipping — yourself with the right tools is vital for a smooth and safe demolition. Essential tools include a sledgehammer, reciprocating saw, pry bar, and safety gear such as gloves, safety glasses, and a dust mask. If there are electrical outlets or switches on the wall, turn off the power at the circuit breaker before beginning any work. Ensuring the right tools and safety precautions are in place minimizes the risk of injury and helps you work efficiently.
- Remove Drywall and Insulation — Start by removing the drywall on both sides of the wall. Use a utility knife to cut along the edges and corners, exposing the studs. Once the drywall is removed, take out any insulation present in the wall. Be cautious of electrical wiring, plumbing, or HVAC components, and safely disconnect or reroute them as needed. This step prepares the wall for the next stage of the demolition process.
- Demolish the Studs and Frame — With the drywall and insulation out of the way, it’s time to tackle the studs. Using a reciprocating saw or a pry bar, carefully remove the studs one by one. Take note of any electrical wiring, plumbing, or ductwork that may be hidden within the wall and proceed with caution. If the wall is load-bearing, additional structural support, such as temporary walls or beams, may be required before removing the final studs. Work systematically to avoid compromising the overall structural integrity of the space.
- Clean Up and Finalize — Once the wall studs are removed, clean up the debris and inspect the space for any remaining electrical, plumbing, or HVAC elements that need attention. Patch up any holes in the flooring or ceiling, and finish by sanding and painting the exposed areas. If you encountered any challenges or unexpected issues during the process, consider consulting with a professional to ensure the structural integrity of your home remains intact. With the interior wall successfully removed, you can now enjoy the enhanced openness and functionality of your reimagined living space.
THE REST IS UP TO YOU!
We hope we provided a you with a good information on how to remove an interior wall. By following these step-by-step guidelines, you can confidently navigate the process of removing an interior wall and unlock the full potential of your living area. Always prioritize safety and enjoy the satisfaction of creating a home that perfectly suits your vision.
But does this seem like a lot of work and you’re not confident you can do it correctly and safely on your own? Then you should consult professionals to assist you with the project. But who can you trust to for you interior wall demolition project? Look no further than the demolition experts at Fire Dawgs Junk Removal! But why go with the Tough Dawgs who get “IT” done?

WHY CHOOSE FIRE DAWGS FOR YOUR DEMOLITION PROJECT?
Fire Dawgs Junk Removal is a locally owned and operated junk hauling company that provides demolition services. We employ a team of well-trained, screened, and certified demolition professionals that can handle any demolition project you need done. But what are some benefits of our services?
- Our demolition experts are well-trained, screened, and certified to help with any demo project.
- We employ many current or former firefighters and veterans.
- All demolition comes with a free, no-obligation quote prior to service.
- If possible, our crew reuses, recycles, or donates 60% of the debris during your service.
- We provide tons of junk removal deals and savings.
Ready to get on the books for a free estimate? Great! Keep reading to find out how get your free quote today!
GIVE US A CALL FOR A FREE DEMOLITION ESTIMATE TODAY!
Guiding Principle: “Treat Every Customer The Way You Would Want Your Family To Be Treated.”
Reach our customer service team at 800-211-DAWG or contact us to schedule your demolition estimate. Have question about our pricing or other services? Text us at 317-597-4744 and our office will get back to you with the proper information. But what do our results look like? Check out our TikTok, Instagram, Facebook, and Twitter and to see our team in action! We hope we provided you with good information on How To Remove An Interior Wall and look forward to serving you in the near future!


